Most people don’t have a planned cesarean birth - it’s often an emergency cesarean. Because this is often unplanned, it can be helpful to prepare for this outcome ahead of time, even if you or someone you know is planning for a vaginal delivery. In this blog about how to prepare and recover from cesarean birth, we’re going to cover the following:
Tips for a planned cesarean birth
Post-surgery mobility and tips
Bowel and bladder function
Diaphragmatic breathing: how and why
Activity progression
Cesarean scar healing and management
Return to sexual activity
Exercise progression
My cesarean birth story….
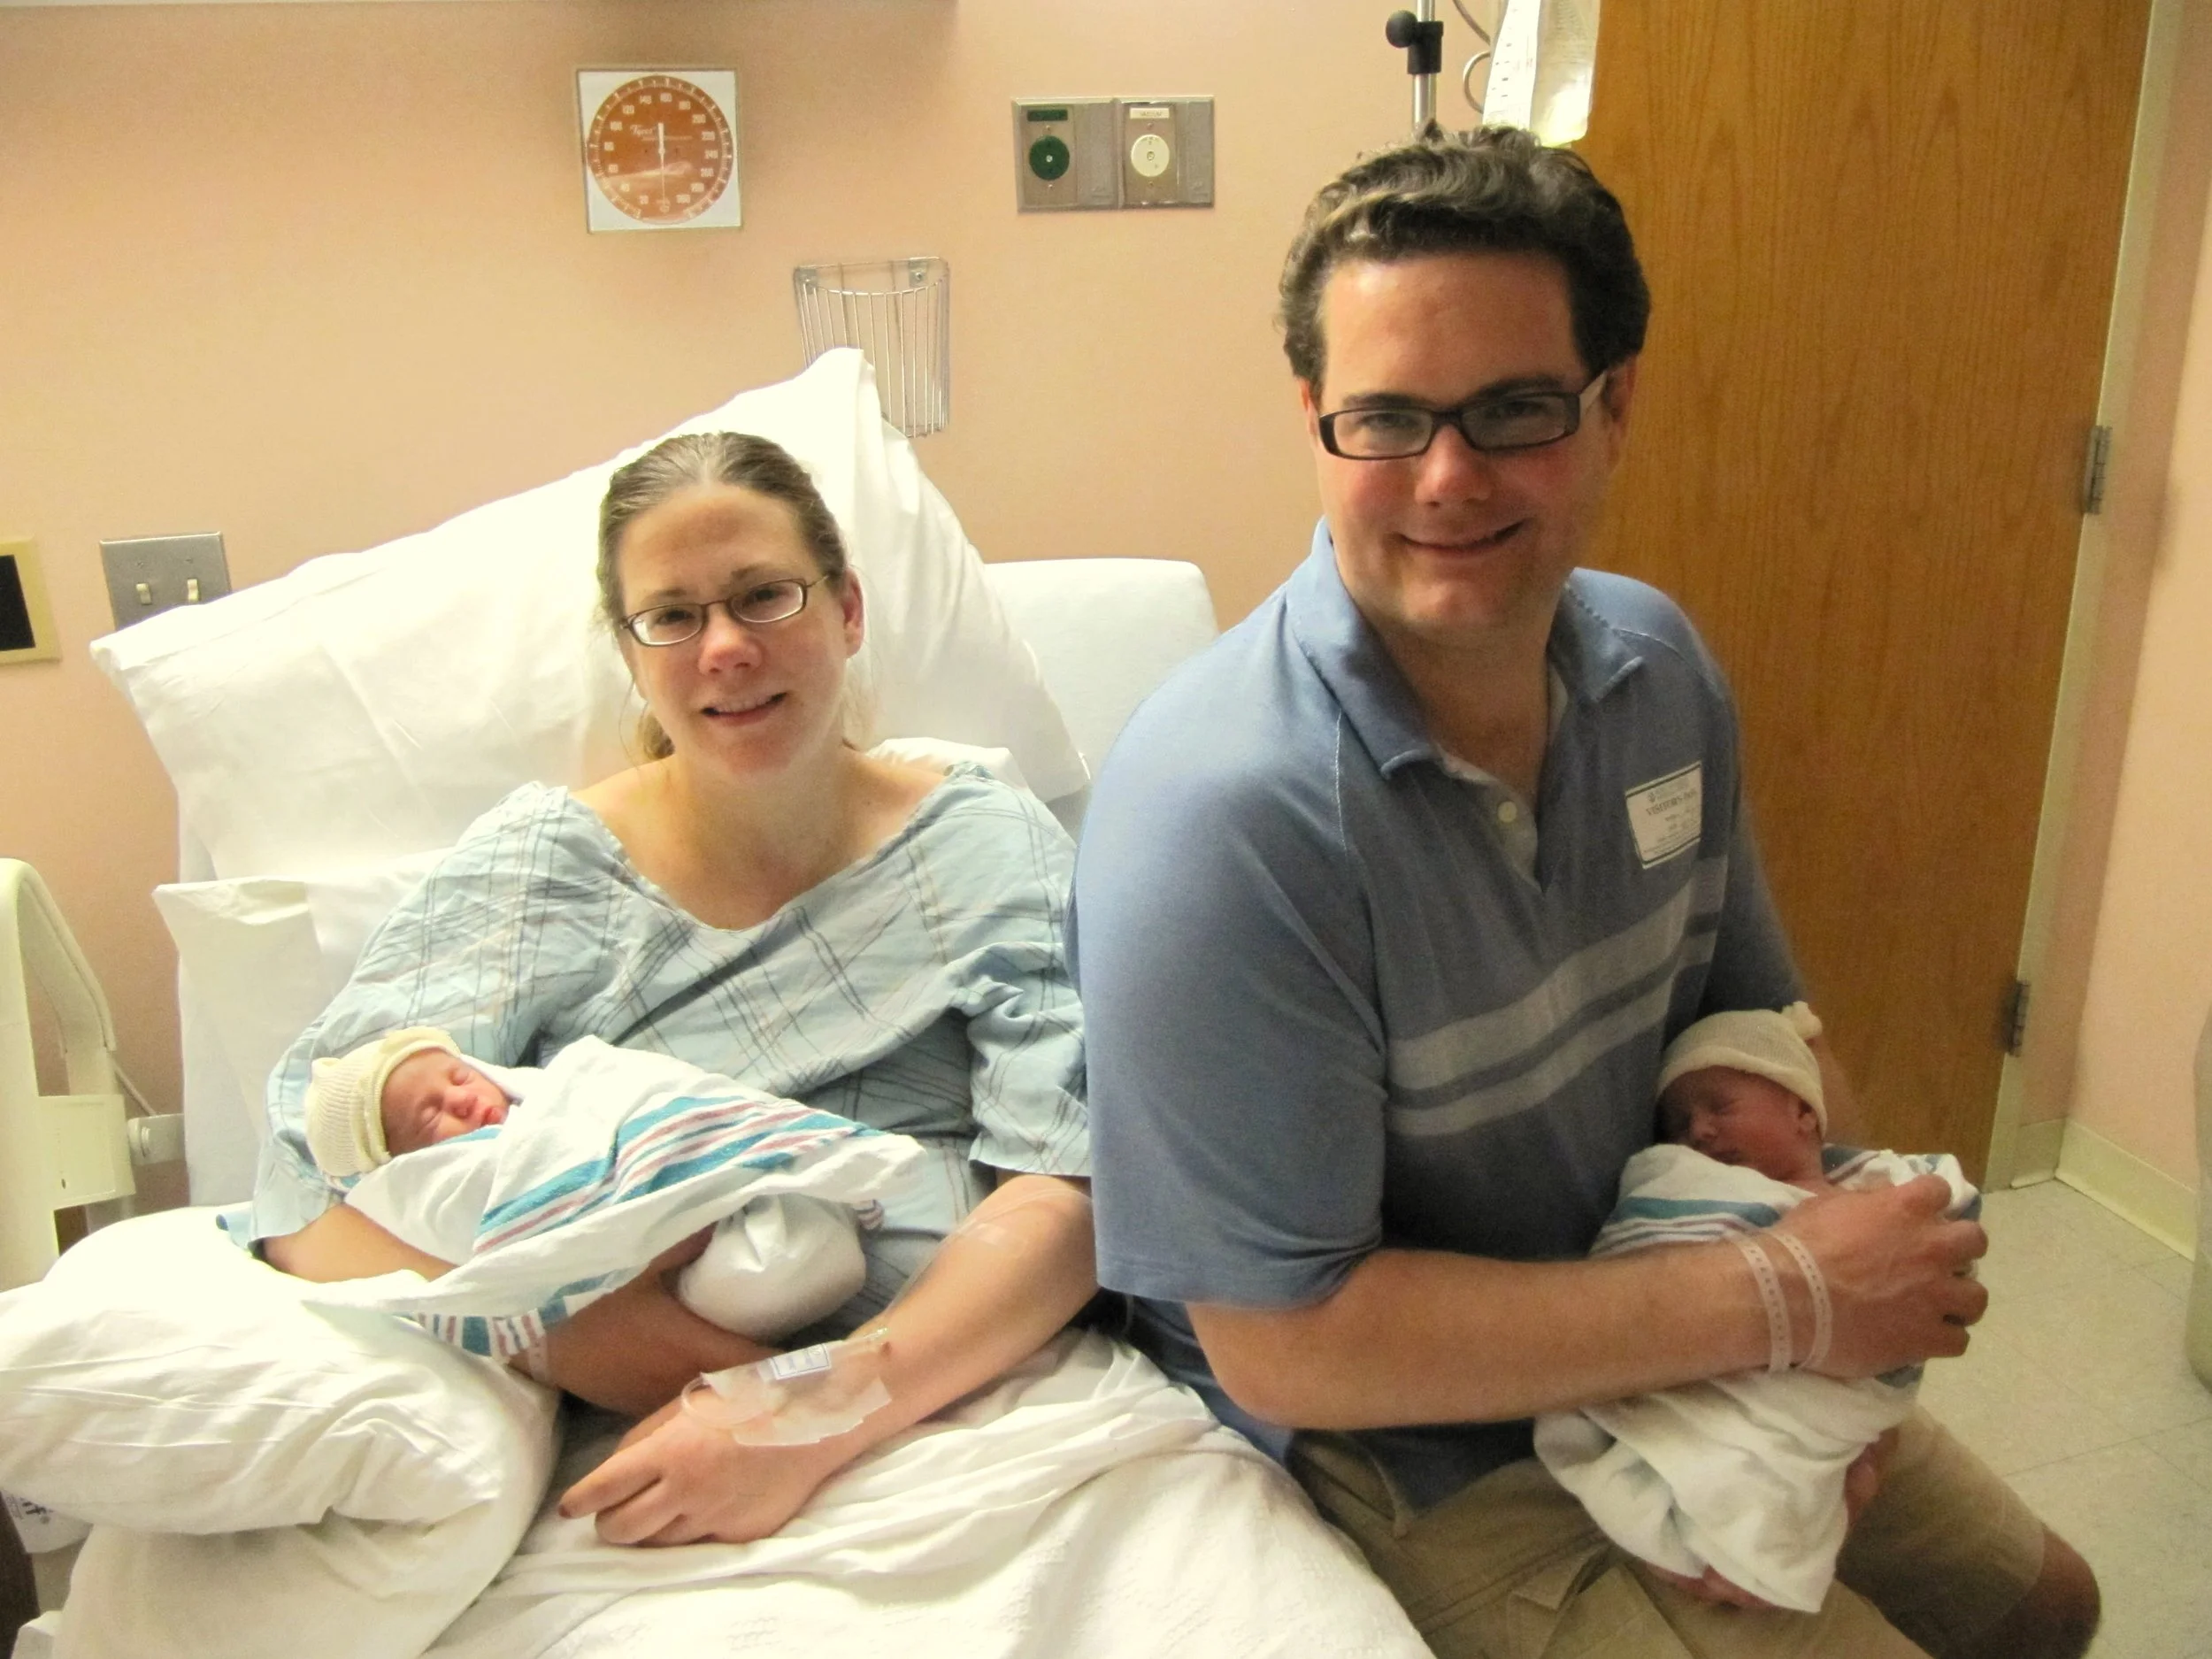
Planned cesarean births are very different from unplanned cesarean or emergency cesarean births. As someone who had a planned cesarean birth and who works with many patients who have had emergency cesarean births, I know these are very different situations. Let me back up… with medical help, I was pregnant with twins after many failed fertility attempts. I had a history of PCOS, and I wasn’t getting my period or ovulating, but with medication and an IUI procedure, I was lucky enough to conceive. This ended up being a twin pregnancy, and I was monitored very closely throughout my pregnancy.
At around 32 weeks, I was told that “baby A” was in the breech position (“baby b” was transverse) and that if he/she moved, I could try for a vaginal birth but if he/she stayed breech, that it would be an automatic cesarean birth. Did she move? Nope, she stayed right where she was (so did he) up until their birth date at 37 weeks and 2 days (5 days early due to rising blood pressure and risk of pre-ecclampsia). Result: successful cesarean birth!
I am very grateful for the amazing hospital staff who helped me throughout my pregnancy and postpartum. Even though having twins was “high risk”, I feel blessed that we were able to have a peaceful and calm birth and recovery.
How to prepare and recover from cesarean birth:
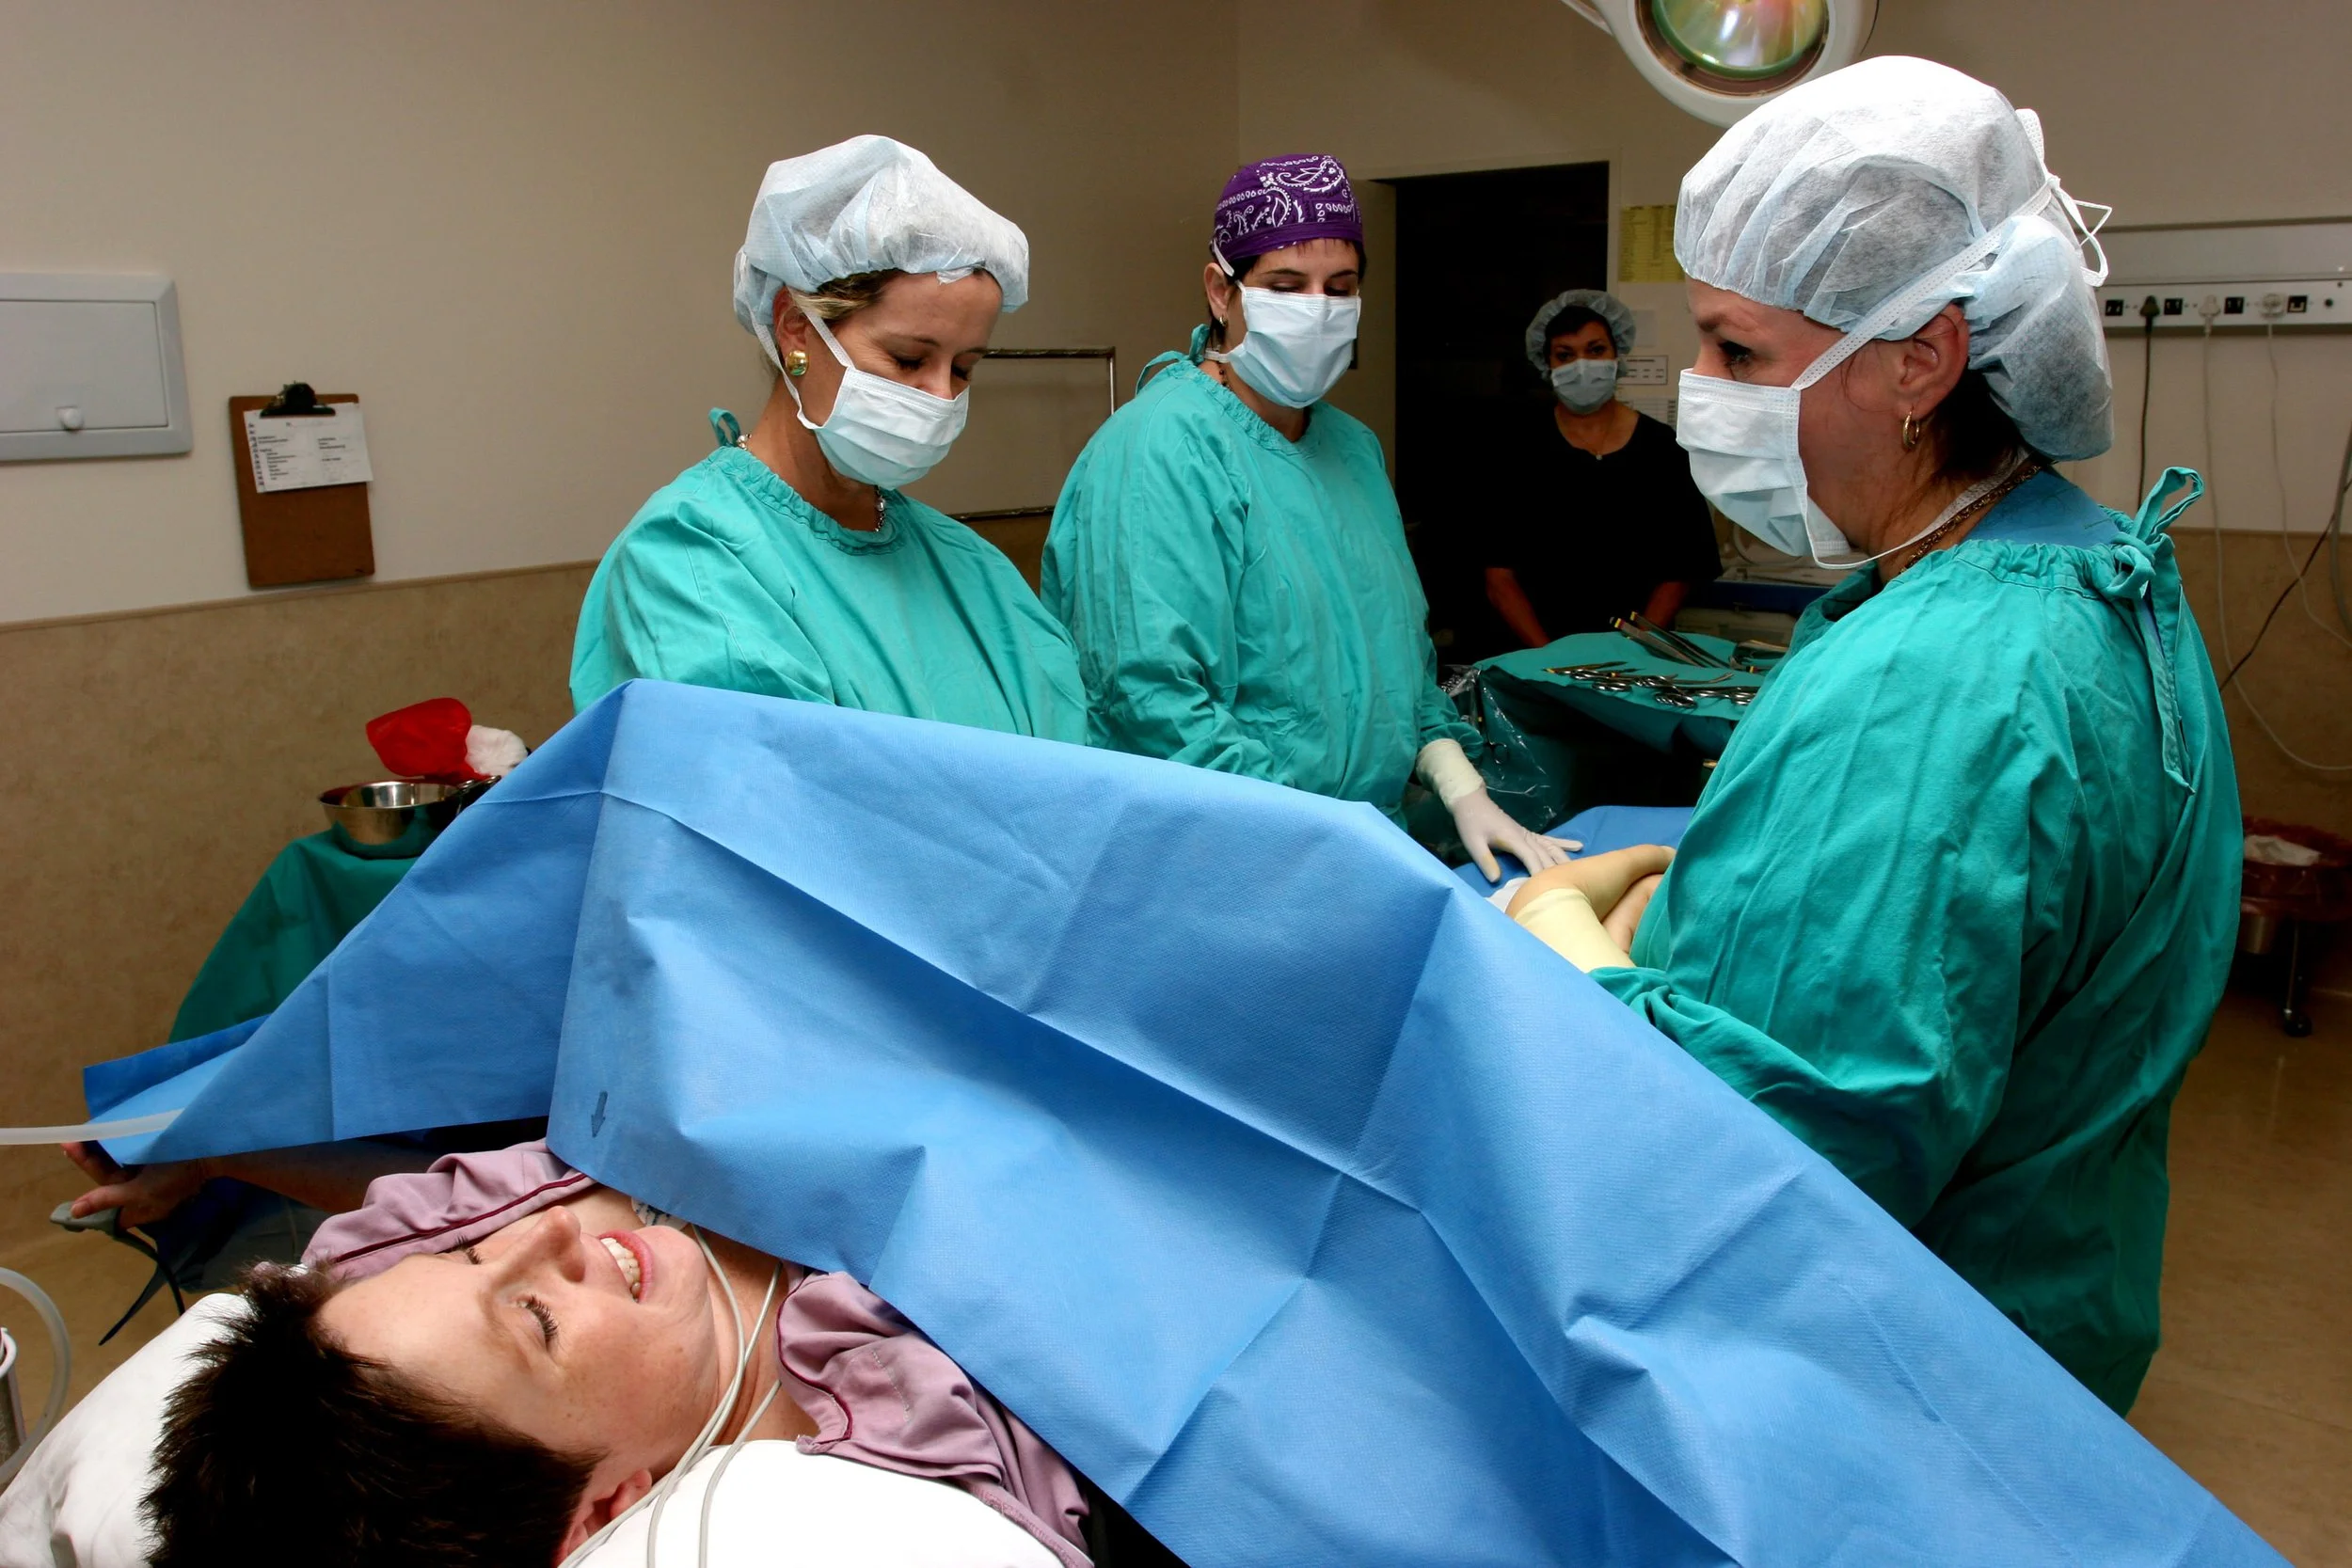
Tips for a Planned Cesarean
It can be helpful to have a discussion with your provider about personalizing your cesarean birth. This can include your choice of music, the use of a clear drape, immediate skin-to-skin contact with your baby, being able to hold your baby during the incision closure, etc. You may also want to talk about their method of incision closure and proper post-op care to minimize scar tissue impact.
Post-surgery Mobility and Tips
To decrease inflammation and minimize pain, use an ice pack on the incision area for 15-20 minutes every hour. Continue to ice for the first few days, up to a week. Stay on top of taking pain medication and NSAIDS (for inflammation and pain) per your provider’s instructions but expect some soreness for at least 4 weeks.
Movement post-op can help prevent blood clots and stimulate your digestive system. While you are in bed, use the compression devices the hospital provides which are sleeves that inflate and deflate around your lower legs. Doing ankle pumps can help as well. Once your catheter is removed and you are medically cleared, you can get out of bed and walk around your room (2-3 minutes).
Getting in/out of bed and in/out of a chair: try to log roll using your arms and pushing through your feet to turn in bed. In sidelying, let your feet drop off as you push up with your arms. For sitting, avoid low, soft chairs as initially they are harder to get in/out of. If you have a deep chair or couch, sit with a pillow behind your back for support. Avoid having someone pull you up - this makes you use your abdominals more and will most likely be more painful than getting up by yourself. When going from sit to stand, tuck your feet underneath, try to be more toward the edge of the bed or chair, and lean forward (nose past toes) to stand.
Support
Belly band/support: most people get a support brace in the hospital to wear, which can give added support. This can be very helpful for comfort, especially when getting up and down from a chair or in and out of a bed. After you go home, you can continue to wear this until you feel comfortable doing the activity without it. If you want to check out other postpartum belly support options, check out my Pregnancy and Postpartum Resources page.
Breastfeeding
Have your partner (or other birthing support person) lift and carry the baby. When breastfeeding, the baby comes to you - don’t lean or hunch over the baby. Over time, your neck and back will thank you for it! I used a double My Breast Friend pillow to breastfeed my twins, and it was a lifesaver! Also, try not to always look at your baby when breastfeeding. They are pretty darn cute, but you can use this time to do some neck mobility and stretching. Each feeding may not seem like a long period of time, but cumulatively, it adds up!
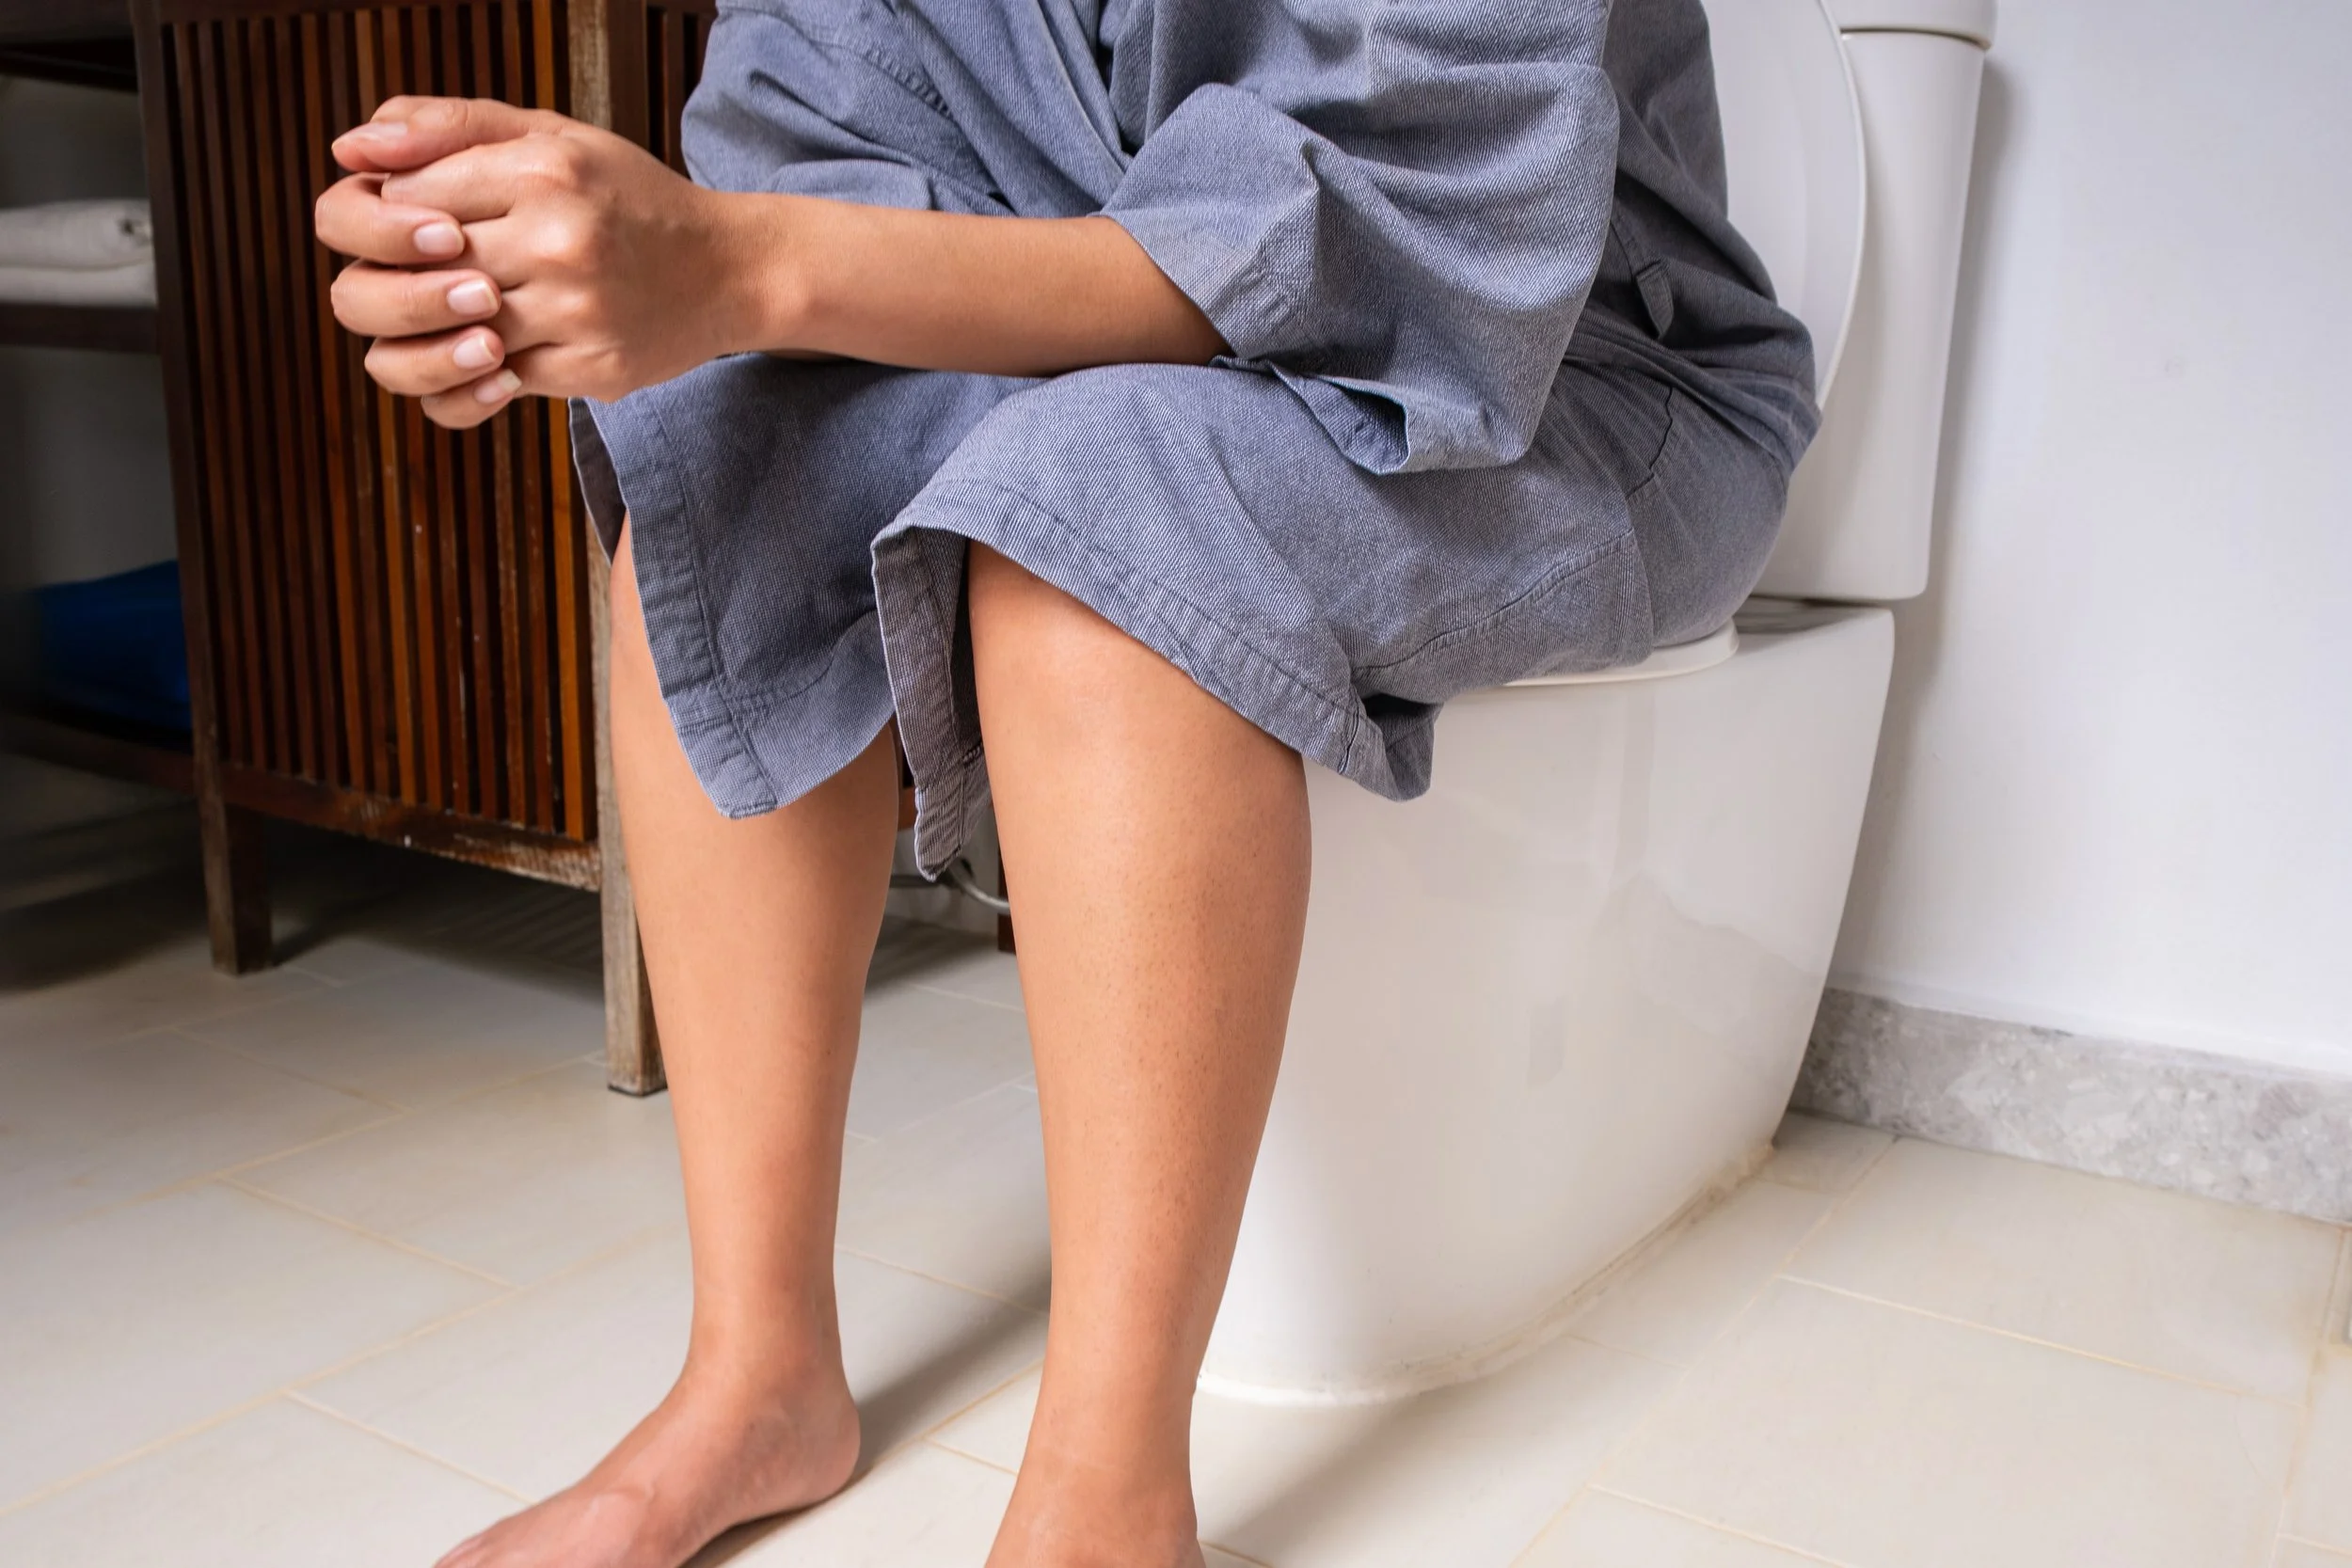
Bladder and Bowel Function
If you have trouble urinating after the catheter has been removed, try turning on the water faucet, imagine a waterfall, or squirt warm water on the urethral area (peri bottles are helpful for this). Putting a few drops of peppermint essential oil in the toilet beforehand can help as well.
Avoid constipation. Lack of mobility and pain medication can slow down your bowels, so getting ahead of this is crucial!
Chewing gum for 30 minutes 3x/day
Regularly taking stool softeners (Colace), Miralax (powder), Magnesium Citrate or Oxide (powder or tablet), or Senna (laxitive tablet)
When you eat meals, chew your food thoroughly
Stay hydrated - drink so much water!
Consider using a squatty potty (portable ones are available if you want to bring one to the hospital)
If you haven’t gone for a couple of days after your cesarean, consider using a glycerine suppository (over the counter) to make things easier to come out.
Use a pillow to splint your belly to help reduce pressure at the incision and improve comfort. You can also use a pillow to support your abdomen when going from sit to stand, coughing, sneezing, or before putting on a seatbelt.
Try not to strain and as you are going - exhale as if blowing out birthday candles with a slight bulge out of your belly and your anus opening up like a flower. Alternatively you can try going as you take in a deep inhale (while you imagine your anus opening up like a flower).
Take your time without rushing, and be gentle with wiping.
Diaphragmatic Breathing: How and Why
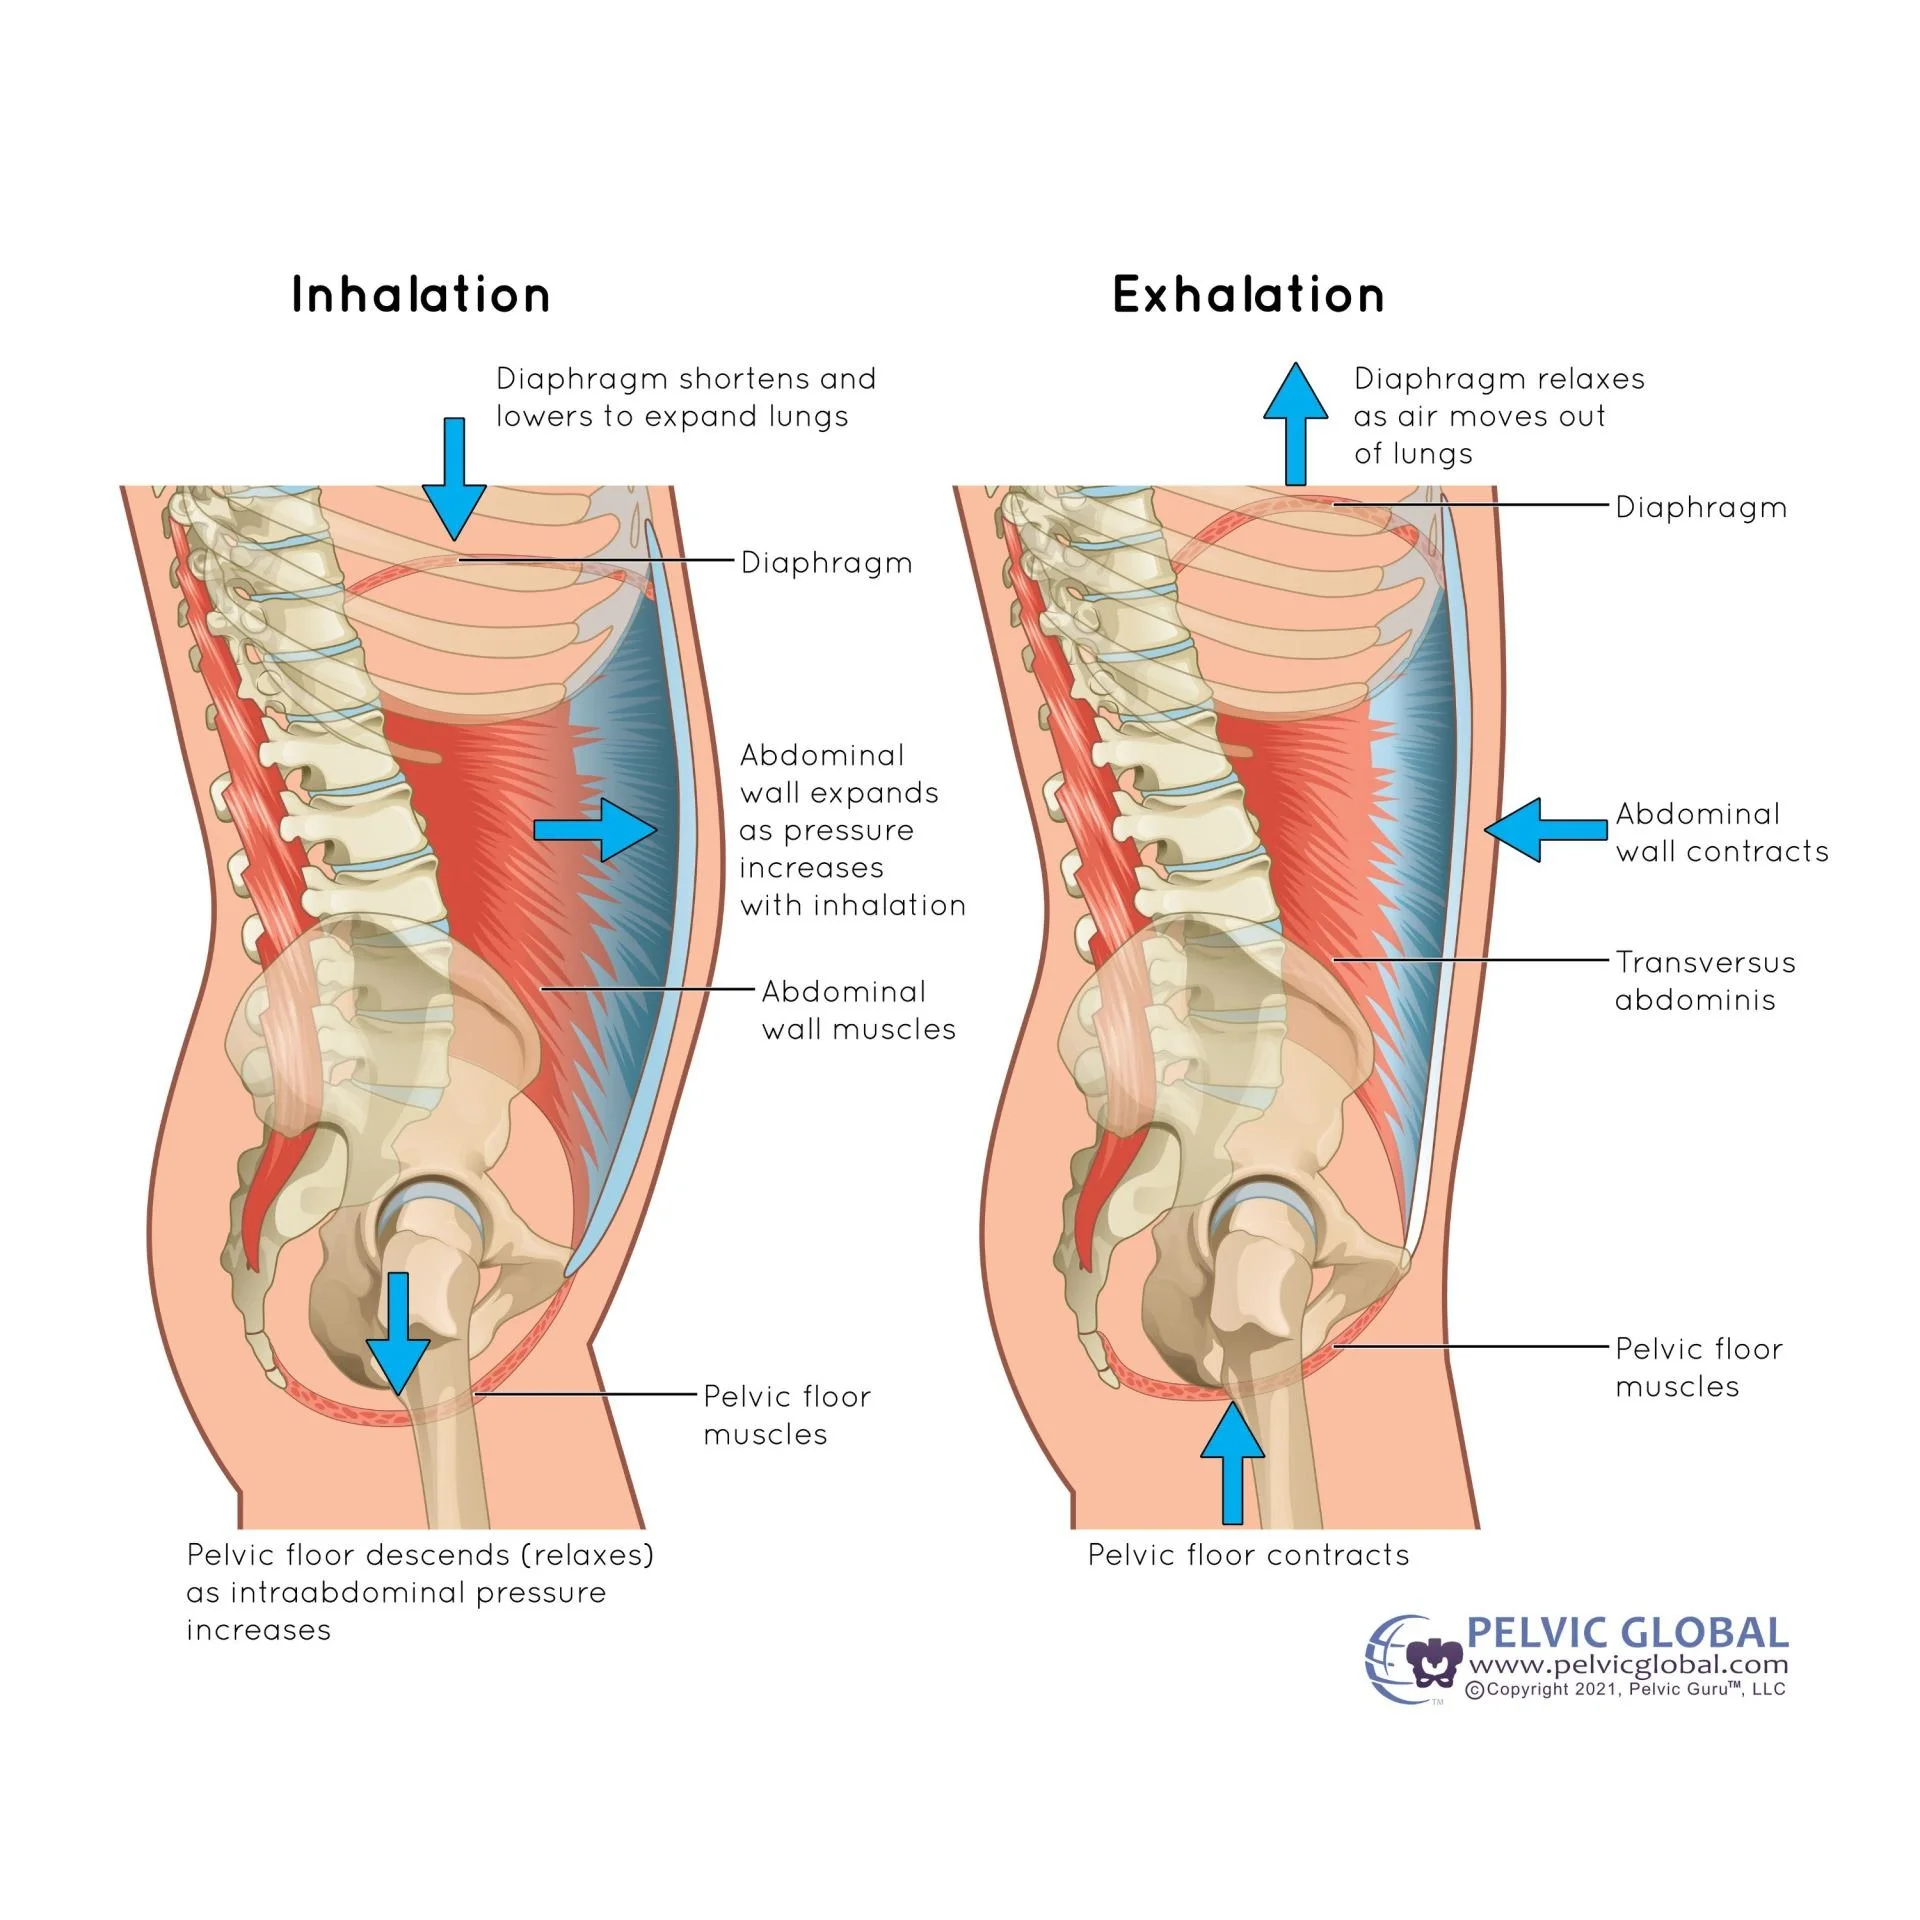
Diaphragmatic breathing can help reduce swelling, improve rib and middle back mobility and stiffness, and it helps calm the nervous system (which we all need on a daily basis!). The diaphragm is part of the core. The “core” is made up of and connected to many muscles, but specifically involves the deep back muscles (multifidus), deep abdominal muscle (transversus abdominis), diaphragm (on top), and pelvic floor muscles (on the bottom). This multi-muscular group works to stabilize the pelvis and spine prior to movement and modulates intra-abdominal pressure.
To perform diaphragmatic breathing, use your hands to feel both sides of your ribs. As you inhale, feel your ribs move out to the sides and to the front and back - 360 degrees of movement. As you exhale, feel them move back down and in, like an umbrella closing. Breathe slow - inhale for 4-5 seconds, hold for a pause, then exhale even slower for 6-7 seconds. Repeat for 10 breaths every hour.
Activity Progression
Aim for minimal lifting or stairs for the first 2 weeks. Have the baby brought to you and have someone else put the baby in the crib/basinette. Avoid carrying the car seat for a few weeks if possible. If you have older children, talk with them about cuddling in bed or while sitting, use a pillow to protect your belly, and avoid lifting and carrying older children.
Initiate walking: once at home, start with 3-4 minutes and gradually progress in length. Most people have significantly reduced endurance, but they often are able to walk around the house multiple times per day with rest breaks in between. Hold off on vigorous exercise, chores, long-distance walking, and heavy lifting until you get the all-clear from your provider at your 6-week follow-up visit.
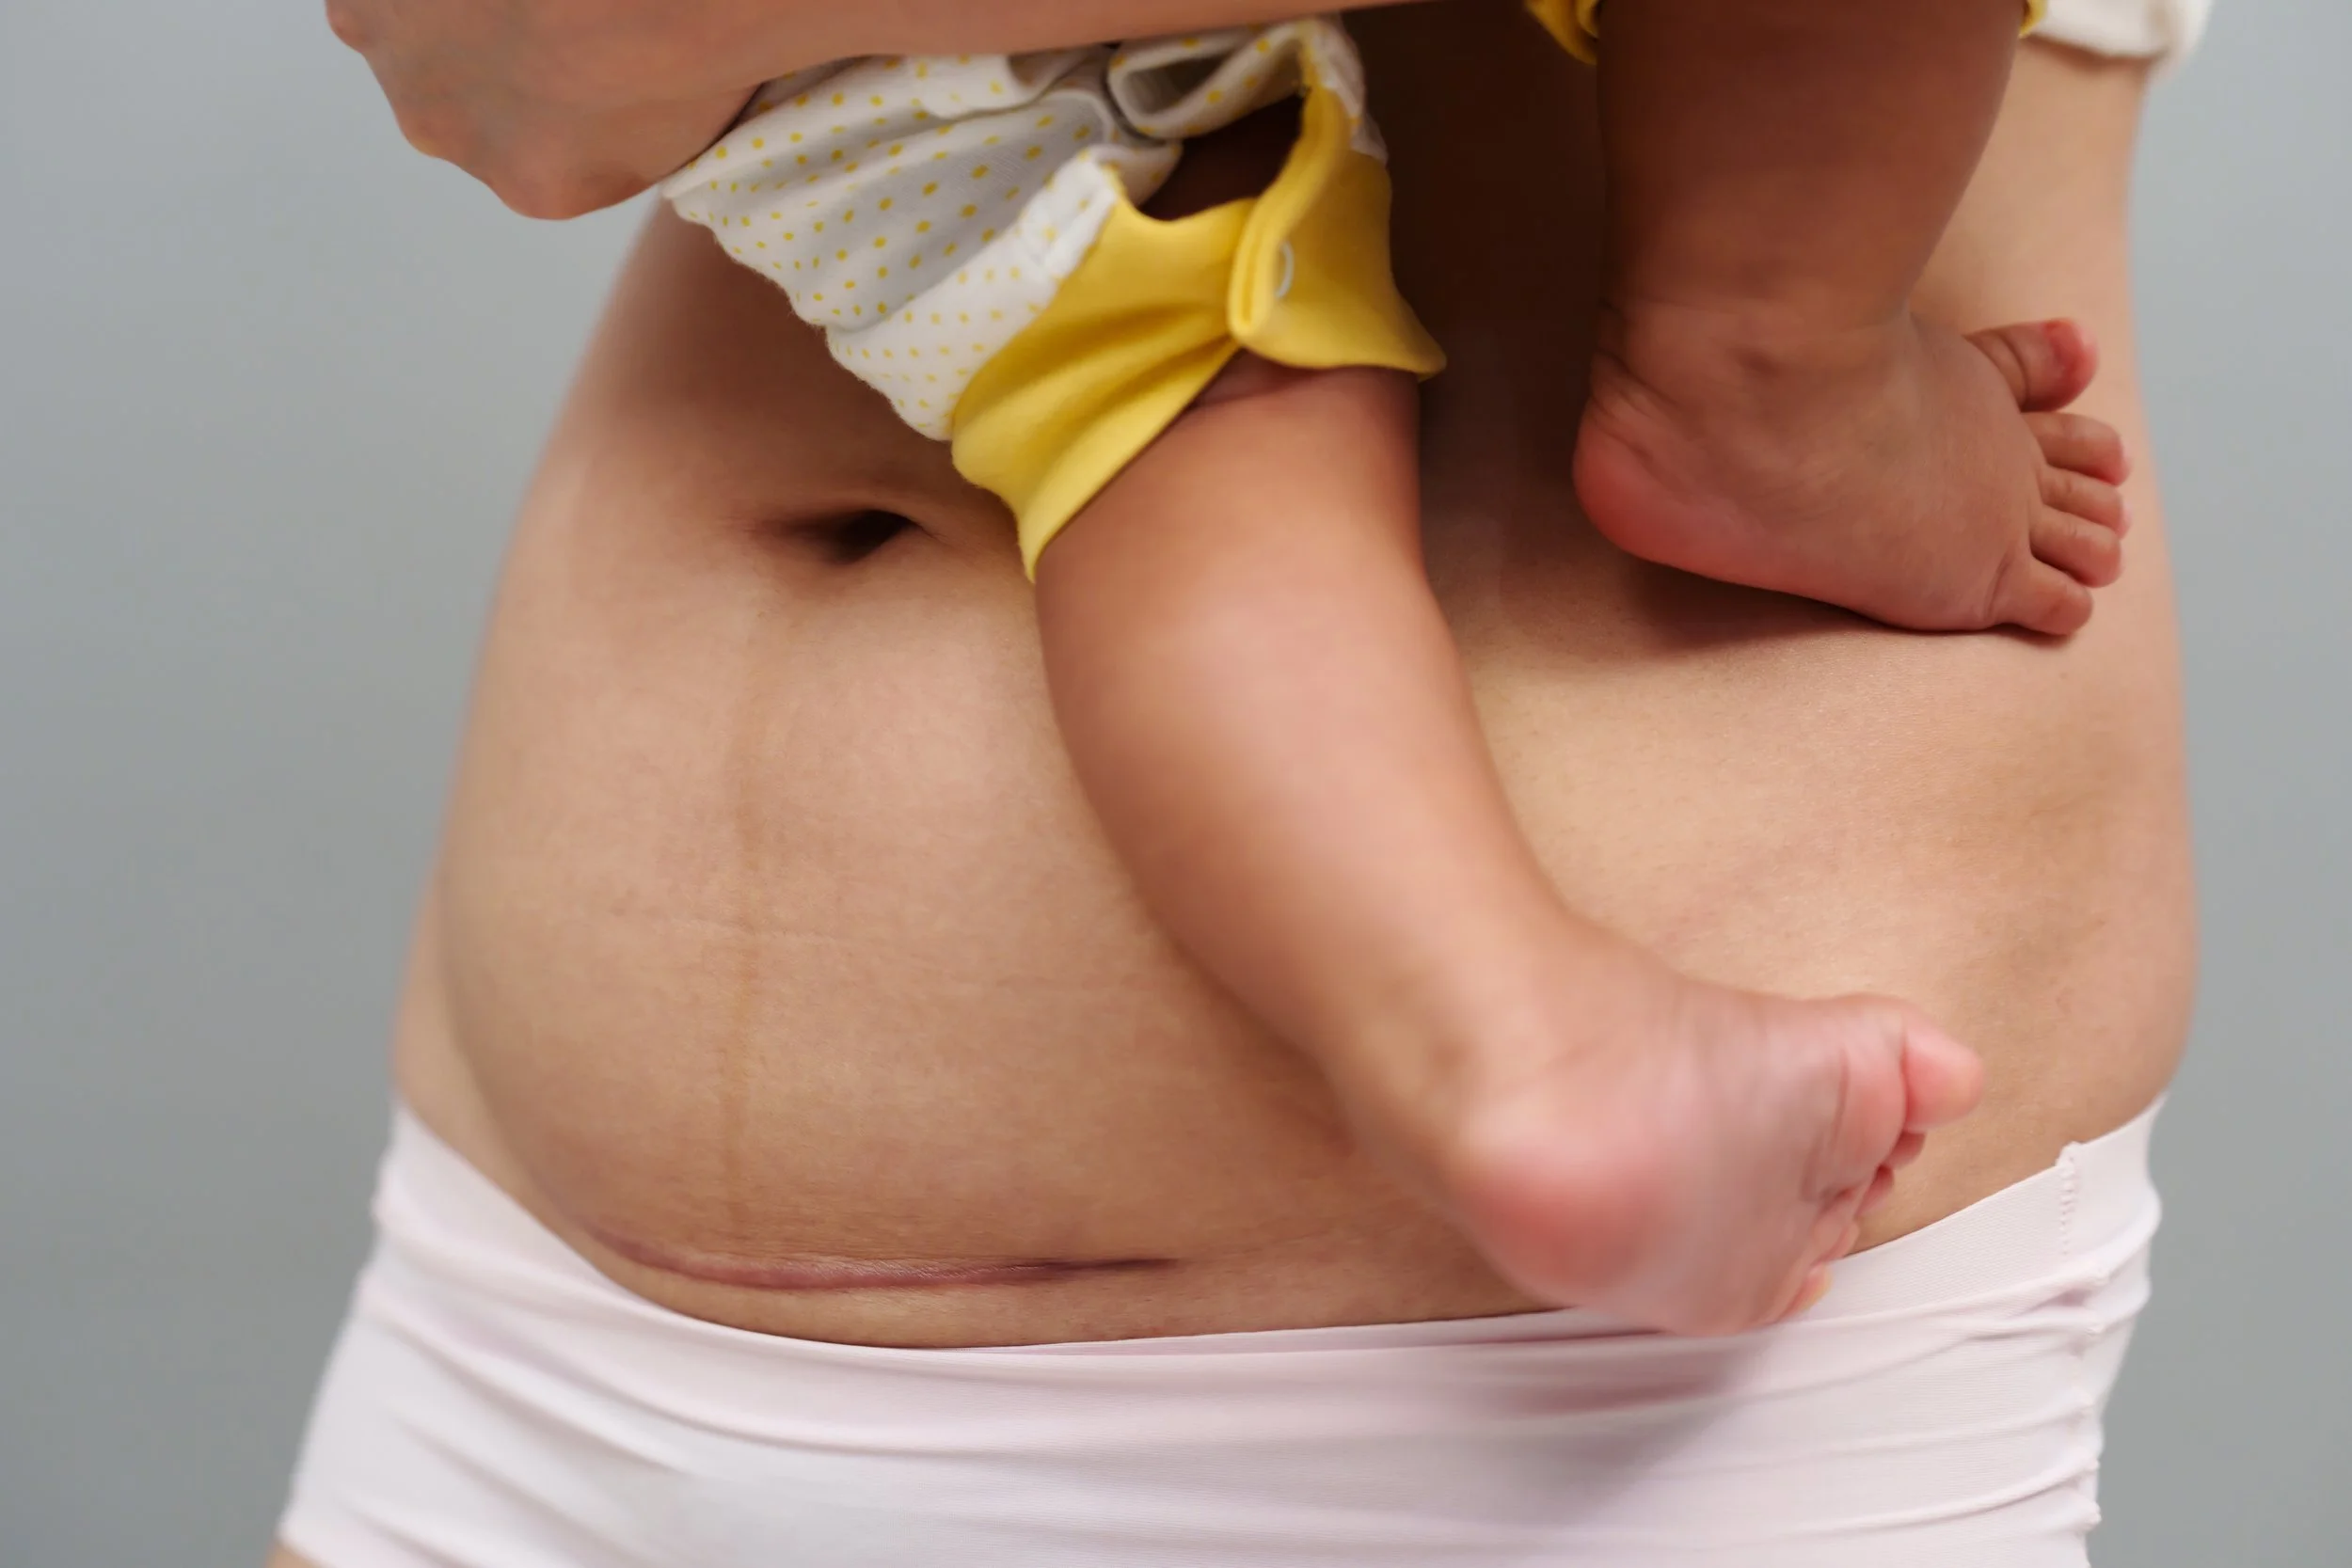
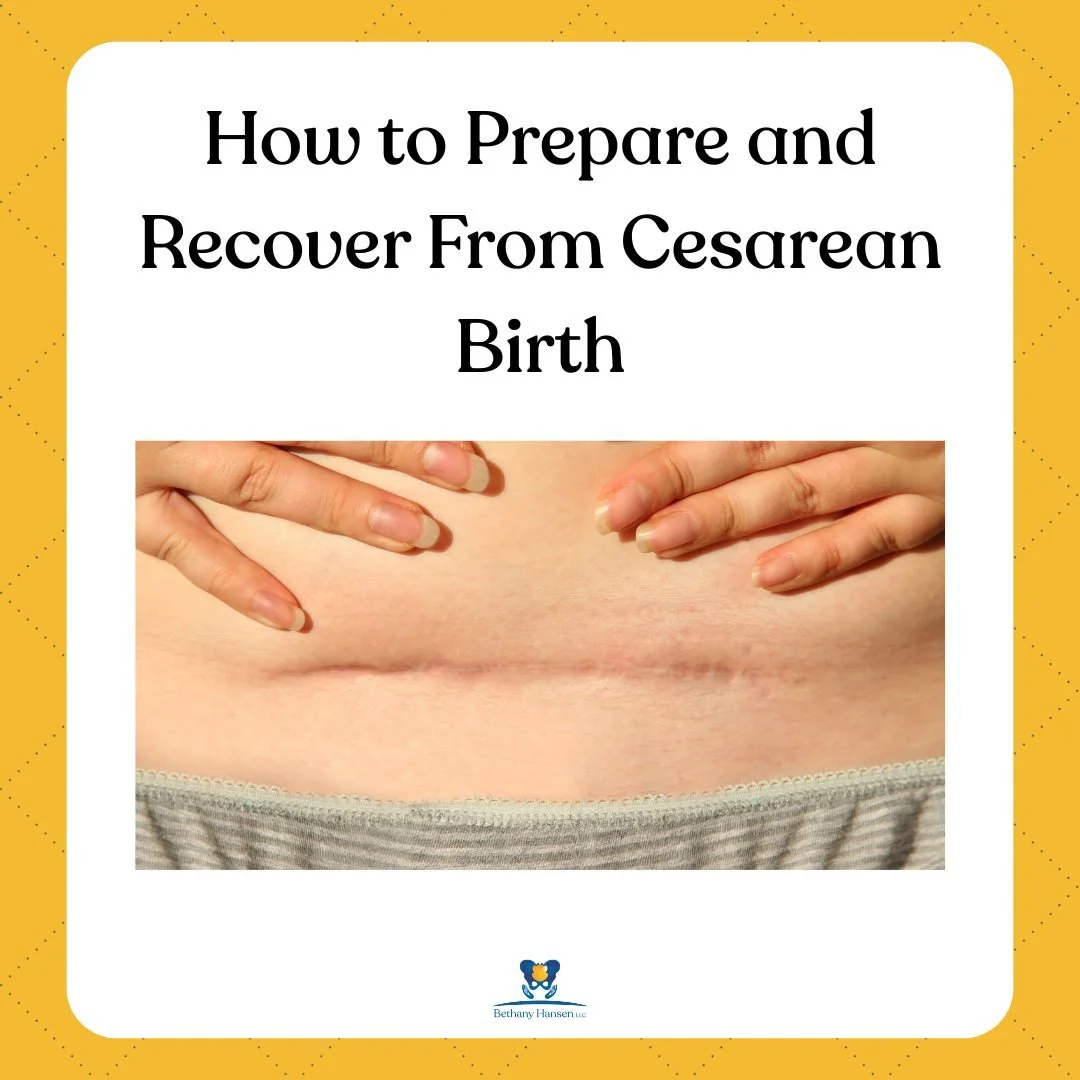
Cesarean Scar Healing and Management
Healing: Prioritize adequate rest and nutrition (protein, fiber, etc.) to maximize healing. Incision healing: Soreness is normal, but monitor for an increase in warmth, redness, oozing, or fever, and contact your medical provider immediately.
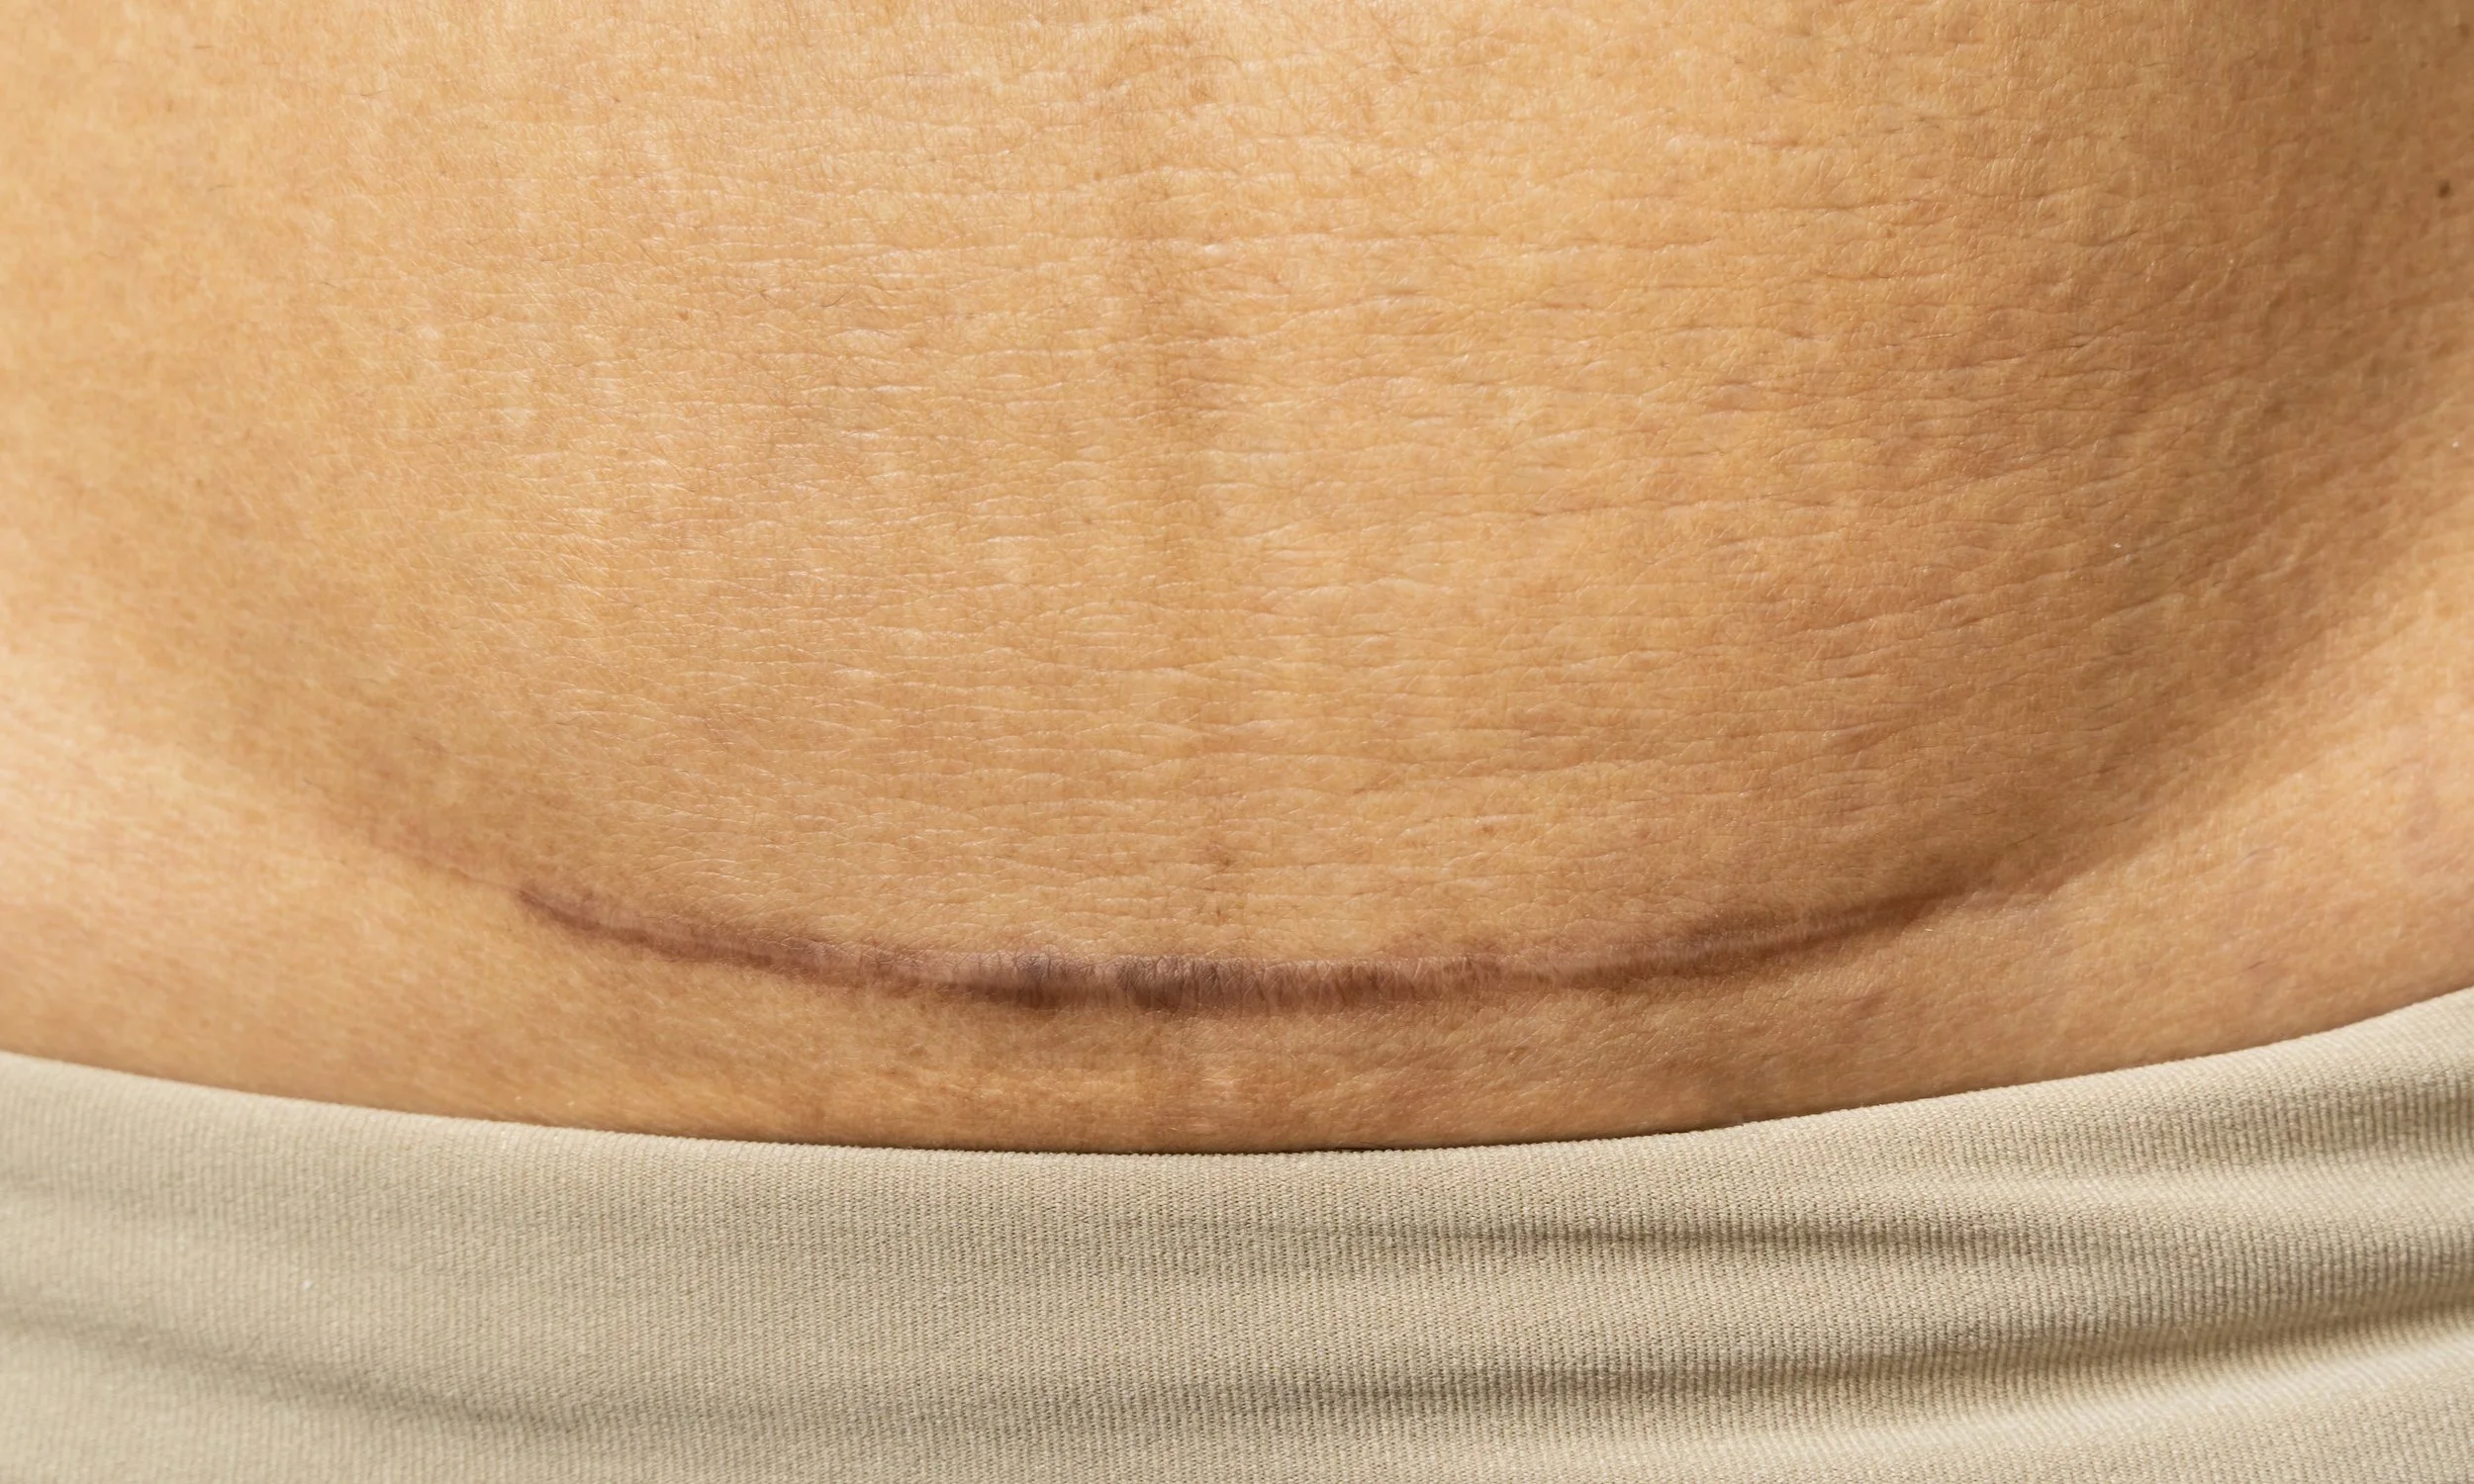
Consider silicone strips: Silicone strips for C-section scars are generally recommended for a minimum of 12 hours a day, and can be worn around the clock if comfortable. Consistent use over several months is recommended to see significant improvements in scar appearance. Some individuals may see improvement within a month, while others might need to use the strips for up to 6 months.
Scar Massage: Manually working scar tissue can improve scar flexibility and increase blood flow to the area. This can help with scar remodeling, promote better scar mobility, reduce pain, improve scar appearance, facilitate nerve re-growth (less numbness), impact bladder function, painful sex, LBP, DRA, etc. Although the scar is seen at the skin level and appears superficial, it can impact deeper structures. During a cesarean birth, the doctor makes an incision through the skin, underlying fat layer, and fascia. The abdominal muscles are separated, and they incise the peritoneum, uterine wall, and amniotic sac, and then the baby is pulled out. Because of the layers impacted and the connections from the abdominal wall to the pelvic floor muscles and beyond, massage can be very helpful.
Skin desensitization: weeks 1-3, you can use a soft cotton ball, makeup brush, or washcloth and work several inches above and below the scar and massage the skin gently, progressing toward the incision but not directly over it until the scab has healed (2-4 weeks). Once tolerated, you can do a deeper pressure massage above and below the scar. With firm pressure, you can move the tissue up, down, right, and left, and in circular motions without sliding over the skin. Once the scar is fully healed, you can start working directly over the scar, moving the tissue up, down, right, left, and in circles. You do want to avoid pulling the skin apart as the scar itself, even when healed, is more fragile. If you want to learn more about cesarean scar massage, check out my free handout: Cesarean Birth Scar Massage.
Return to Sexual Activity
Although many of my patients hold off on penetrative activity for 3-5 months postpartum, it’s important to wait for medical clearance from your provider at your 6-week follow-up visit if you want to start sooner. Use lubricant - even if you didn’t need one in the past, your vulva postpartum, especially if one is breastfeeding, is the Sahara desert when it comes to lack of estrogen. There are many options out there, but some find using silicone-based lubricant (uberlube) or oil-based lubricant (coconut oil) more comfortable and longer-lasting in the postpartum and breastfeeding period. If you prefer water-based, there are many fantastic brands out there (Slippery Stuff, Sliquid, Good Clean Love, just to name a few). Regardless of what kind you use (avoid KY or Astroglide brand), it’s best to go ahead and just use it.
If you’re not sure how things will go, try doing some perineal stretching beforehand and see how things feel. See my blog post about perineal stretching for reference. Even with a cesarean birth, many people have pelvic floor muscle trauma from labor and pushing, and even with a planned cesarean, the fascial tightness caused by the incision/stitching can cause discomfort with penetrative sexual activity. Lack of estrogen can also cause discomfort postpartum, especially if breastfeeding. You can follow up with your medical provider for vaginal estrogen (prescription) which can help, or vaginal moisturizing suppositories. If pain with penetrative sexual activity continues, seek out the help of a local pelvic health PT.

Exercise progression
Priority number one (mentioned before) - rest and nutrition! After that, the general recommendation is to wait at least 12 weeks after birth to return to heavy lifting, high-impact exercise, and running. However, we don’t want people to avoid all exercise and then jump into high-level activity. When you feel ready, start with low-impact exercising by gradually increasing walking speed and endurance.
You can also start with basic exercises such as pelvic floor muscle training (kegels), glute squeezes, pelvic tilts, hands and knees breathing (drawing in the lower abdominals as you exhale), hands and knees alternating opposite arm raise, leg raise, and opposite arm/leg raise (bird dog), sidelying leg lifts, clamshells, supine bridges, standing double leg squats (without weight), etc. These are generic recommendations. To get more help with recovery and progress with higher-level exercise, seek out help from a pelvic health physical therapist, or, if you are local to Edina/Minneapolis, MN, work with me!💛

Did you like this blog? Here’s what’s next on your reading list:
What to do for Diastasis Recti: A Pelvic Floor PT Perspective
How to Prepare for Vaginal Birth: A Pelvic Floor Physical Therapist Perspective
Disclaimer: The information in this blog post is for general purposes only and is not intended to be used as medical advice, diagnosis, or treatment. Refer to your medical provider for all questions and concerns regarding your individual care.
Quick self-check
Curious if you might have pelvic floor dysfunction?
Take this quick self-screen. 10 yes/no questions, about a minute. Your answers stay on your device.

Did you enjoy this post? Whether you're a newbie or a pelvic pro, join the community to stay up to date with the latest and greatest in pelvic health!